
Every guide gives you the same instruction: soft diffused light, plain background. Do exactly that and a chain still photographs slack, a bracelet still collapses into an oval, and a pair of earrings still looks like two pieces that were never meant to sit together. The advice was not wrong. It was just not about these three items.
A small part of this job is shared. Surface, reflection control, light and settings behave the same way whatever you put in front of the lens. Everything after that is item-specific, which is why how to photograph necklaces is a different question from how to photograph bracelets, and different again from how to photograph earrings.
A necklace drapes. A bracelet is a closed circle with no resting shape. Earrings arrive in twos and have to match. This guide treats them as three problems rather than one subject called jewellery.
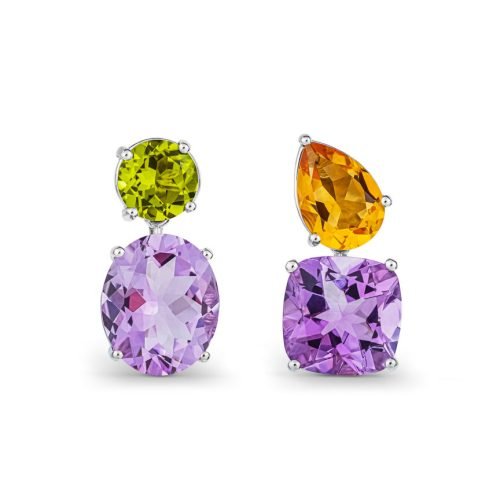
It is written for jewellers, jewellery brands and e-commerce or resale sellers shooting their own range in-house, on a camera or a good phone. Pieces that stand up on a band are a different geometry problem and we cover that separately in how to photograph rings, part of the wider watch and jewellery photography work we do as a Central London commercial studio.
Shared setup first, then each of the three on its own terms, then keeping a whole range consistent. Start with the part that never changes.
The Shared Setup Every One of These Three Needs
The two decisions that change these photographs most are what the piece lies on and what holds it up. Neither is a camera upgrade. A macro lens in the 85 to 100mm range on full frame buys working distance, a tripod is non-negotiable at this magnification, and a sheet of white card does more than a new body will.
Choose the surface for what it reflects, not for how it looks on the table. One working jewellery photographer had to spray-paint a bought necklace stand white, because the brown was reflecting into the jewellery. Anything within reflection range of a polished chain becomes part of the picture, and a black or white glossy tile gives you a natural reflection without spending a light on it.
On a phone, skip plain white paper. It can push the auto white balance far enough to render the background visibly blue, so a neutral, subtly textured surface beats it.
Then the supports, where most guides stop and where the damage happens.
| Material | Best for | Watch out for |
| White removable mounting putty | Standing bracelets and small pieces upright | Blackens silver after roughly an hour of contact |
| Beeswax or Plasticine | Nothing here | Plasticine’s sulphur blackens most metals and both stain the surface |
| Fishing line or black nylon thread | True suspension and floating shots | Catches the light. Run a black marker along it where it crosses the beam |
| Coiled stainless steel wire base | Standing thin or awkward pieces upright | Use stainless, not piano wire, which rusts and stains |
| Removable glue dots | Fixing a necklace’s hang length to a display | Unsafe on coated finishes such as coated glass pearls |
| Support rod behind the piece | Holding an angle without touching the front | Position it so depth of field throws it out of focus, then no retouching |
We prefer white putty to prop wax, because it does not leave your fingers and the product sticky. Before anything reaches the frame: gloves, a blower, a lint-free cloth. Dust at this magnification is the biggest time sink in the edit.
Two limits hold across all three. Nothing touching the piece stays in contact beyond an hour, and nothing coloured comes within reflection range.
Light the Metal and Choose What It Reflects
The light box is the reason the photographs look cheap. Stancy Nova Photography puts it plainly: five white walls and a big opening give no creative control over what gets reflected on the surface of jewellery, and the result reads “flat, matte, plasticky and cheap”.
You are designing the reflections, not diffusing the light. Build the box from parts you can move: white opaque acrylic, white foam-core and black foam-core. White where you want shine, black where you want an edge. Two sources either side rather than one key light is the pattern practitioners keep landing on.
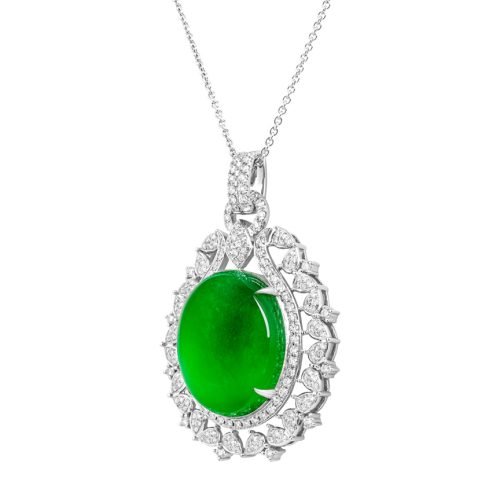
Then read the black. Put your eye exactly where the lens is, look at the metal, and find the places where it reports back a muddy dark tone. Put a white card at that specific point. It matters more on a chain than on any solid piece: a chain is hundreds of tiny curved mirrors all facing slightly differently.
Colour accuracy is a method, not a rule of thumb:
- Shoot a grey card in the same light at the start of every setup.
- Set a custom white balance from it, then sync that across the batch.
- Reshoot the card whenever the light moves.
- Hold one light source and one reference across the whole range instead of chasing per-metal presets.
That fourth point is the answer nobody gives for mixed metals. Silver drifts icy blue under cool LED panels, gold drifts orange when the frame runs warm, and the two only stay relatable to each other if they were shot against one reference. Our notes on photographing gold jewellery go further on the surface-bounce problem, and stone-set pieces get their own treatment in capturing the sparkle of diamond jewellery.
On a phone, 5500K daylight is the sensible starting point; one seller’s Android recipe is Pro mode at ISO 160 with daylight white balance. Turn the room lights off and work by window light alone, and the orange cast never arrives.
Panels chosen, the next argument is the one every published guide answers differently: which aperture.
Settings That Hold Up at This Magnification, Including on a Phone
Published advice gives three different apertures for this job, and all three are right. None says what the answer depends on: how close you are, and whether you are stacking.
Two facts settle it. Sharpness calculations assume a circle of confusion of roughly 30 microns on full frame and 19 on APS-C, so a smaller sensor hits the diffraction wall at a wider aperture. And at 1:1, magnification itself costs about two stops of effective aperture, so f/16 on a chain shot that close is behaving optically like f/32.
Back off to lower magnification and that penalty disappears. f/16 stays f/16 and buys real depth for a little softening, which is why it is defensible on a larger piece shot further back and wrong on a flat-laid chain at full magnification.
| Situation | Aperture | Stack? |
| Flat-laid chain at high magnification | f/8 to f/11 | Yes, 20 to 40 frames |
| Bracelet or larger piece, lower magnification | f/11 to f/13 | Often not needed |
| Non-macro prime, no stacking | around f/13 | No. Accept good rather than best |
| Phone, macro mode | Fixed, not your decision | No. Work the distance instead |
Flat-laid necklaces are the deepest stacks at 20 to 40 frames, and one failure mode wastes the lot: stabilisation left on, in-lens or in-body, can shift the autofocus point between frames and break the blend. Turn it off. One documented stack: Nikon D850, 105mm f/2.8 macro, blended in Helicon Focus. You will not always need one: a maker shooting gold on a Nikon D810 with a 50mm prime at f/13, lit by two 300W lights, got acceptable sharpness unstacked.
Phones deserve a better diagnosis than “never zoom”. On documented iPhone hardware:
- Main wide lens: focuses no closer than about 15cm.
- Ultra-wide: about 2cm.
- Telephoto: about 60cm.
The blurry close-up is the main wide lens held inside its own minimum focus distance. Macro mode fixes it by switching silently to the ultra-wide, which is also why it gives a wide-angle rendering and heavier processing.
So the call depends on the piece. For a flat-laid necklace with the whole piece in frame, macro mode is fine. For a stud where you want detail, hold the phone at 15 to 20cm and zoom in rather than moving closer, and leave the dedicated telephoto alone, because it will not focus that close. Those figures come from iPhone 13 Pro generation hardware, not the current flagships, so treat the mechanism as the reliable part.
Pick the aperture from how close you are, then decide whether to stack. Never the other way round.
Necklaces: Make the Chain Lie the Way You Want
A chain has no memory and no resting shape. It photographs however it happened to land, and a chain that lands slack reads as cheap while the same chain under slight tension reads as quality. That is the real problem in how to photograph necklaces, and almost nobody says so.
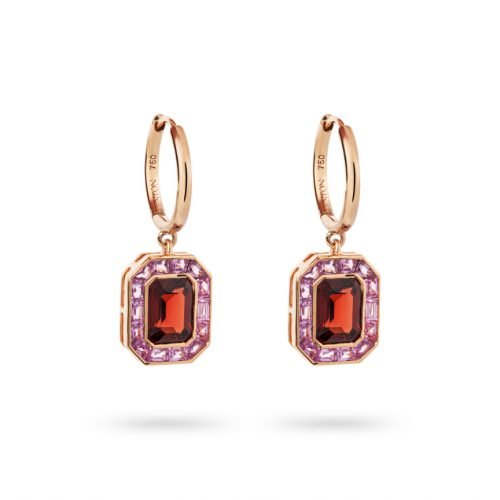
Shape it on purpose. Use a curved former rather than your fingers: a bowl, a can, a cake pan, anything with a radius you can go back to. One working jewellery photographer shapes flat-laid necklaces over a bowl. The point is not the bowl, it is a repeatable, deliberate curve, which is also how SKU forty ends up looking like SKU one.
Flat, suspended or on a bust is the contradiction everyone trips over. Some photographers say flat lay. Others say suspend pendant pieces and avoid forms because a form blocks light into the piece, then recommend the opposite for chunky short necklaces. Both are right, and the deciding variables are weight, drop length, and whether light needs to pass through the links.
| Necklace type | Shoot it | Why |
| Fine chain with a pendant | Suspended, or flat over a curved former | The pendant tips forward on the chain and vanishes if unsupported |
| Chunky or short piece | Flat, shaped over a bowl or can | Heavy enough to hold its own shape, and a form blocks light into it |
| Long chain, 28 inches and over | Open frame or wall of nails, never on the surface | Standard stands are sized for short pieces |
| Piece sold on how it sits worn | Bust or on-body | Object frames cannot answer the drop-length question |
The pendant that tips forward is a weight problem before it is a photography problem. On the jewellers’ forums it gets diagnosed as centre of gravity: attachment points sitting at 9 and 3 o’clock rather than 10 and 2, or a bail sitting behind the stone instead of near its edge. One jeweller’s diagnostic transfers straight to a set. Balance the pendant on a thin rod to find where the weight actually sits, then support it at that point.
Twisting has a related cause. Etsy sellers, in threads titled “necklace keeps flipping!!!”, keep landing on the same diagnosis: a clasp heavier than the pendant works its way round and drags the chain with it. Take that as seller experience rather than tested data.
On set, position the clasp deliberately instead of letting it settle. It also earns a detail frame, because buyers want to see it.
Long chains break standard props, because pendant stands are sized for short pieces. Two fixes:
- A frame of wood and picture nails. One photographer built one for 30-inch chains so the chain never touches the surface.
- A removable glue dot on the back of a display board. Attach it only via a sturdy metal or gemstone bead, then adjust the hang until it reads like real shoulders. Never on coated glass pearls, one of several reasons pearl jewellery photography gets handled separately.
Drop length is a top pre-purchase question and most guides skip it entirely. Three frames answer it together:
- A drape frame that reads as on-shoulder length.
- The measurement stated in the caption.
- One neutral reference object.
Scale references are widely recommended as a returns-reduction tactic, and jewellery sits in a 10 to 15% return band, but no study we could find quantifies how much better imagery moves that number. Treat it as expert consensus, not a measured effect.
Shape the chain on purpose, support the pendant where its weight actually sits, and place the clasp rather than letting it settle.
Bracelets: Give a Closed Circle a Shape to Read
A bracelet is the only one of the three with no natural resting position. A necklace drapes, an earring hangs, and a bracelet is a closed loop that flattens into an oval the moment you set it down. Nobody wears it as an oval, which makes the default flat lay the weakest option on the list.
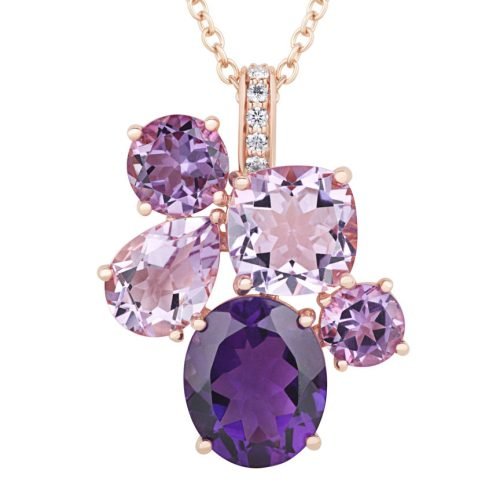
The professionals disagree about the fix, openly. PhotoRobot suspends bracelets in air rather than shooting them flat, and says the main manual clean-up task afterwards is removing the nylon suspension string. GemLightbox’s hardware does the opposite by design: bracelets sit on the flat base turntable, while the separate hanging turntable is reserved for earrings, pendants and watches. Two serious vendors, two opposite defaults.
How we reconcile them: suspend anything with drape or a visible clasp, and shoot flat only for a rigid bangle or a deliberate stacked lifestyle frame. The deciding variable is whether the piece has an inside the buyer needs to see.
The DIY method, in order:
- Put a former inside the loop, matched to a real wrist circumference, so the circle reads round instead of oval. A hand or wrist display form is the standard commercial prop, but you do not need to buy one. One photographer used a large pharmacy medicine container of roughly wrist diameter, wrapped it in a plain white label so the dark orange plastic could not reflect into the edges of the bracelet, and held the piece in place with a strip of tape round the back where the camera never sees it. Total cost, nothing.
- Cover whatever you use in white or neutral. That label is the whole trick. A coloured former inside a polished bracelet contaminates every edge, exactly as a brown necklace stand does.
- No former? White removable putty stands a bracelet up. Watch the contact time from the table above, particularly on silver.
- Support from behind with a rod thrown out of focus. Let depth of field hide it and you never retouch it out at all, which is the cheap version of PhotoRobot’s nylon-string clean-up.
- Shoot from an elevated three-quarter angle rather than straight on, so the circle and the clasp both read in a single frame.
Expect to stack. A bracelet wrapped round a former runs away from the sensor in every direction at once, and the photographer above stacked frames specifically to hold the whole piece sharp. Set the aperture from the table in the settings section, then build the depth rather than closing down for it.
The clasp deserves its own frame. It is a purchase question and a returns driver, and a hinged bangle photographed closed hides the exact mechanism that decides whether it goes over a hand.
Single or stacked is not a matter of taste either. The single piece is the listing hero because it is the product. The stacked frame is the second image, because it is how the thing is worn and it is what gets shared.
Inner circumference gets the same treatment as drop length, only shorter: one worn or form frame, and the measurement stated in the caption.
We should be straight about the evidence. The former-and-tape method above is one working photographer’s documented setup, not a tested standard, and no source we found compares these approaches against each other or reports which converts better. The order we have put them in is reasoning from what the piece has to prove to a buyer.
Earrings: Match the Pair, Stand the Hoop Up, Decide About the Backs
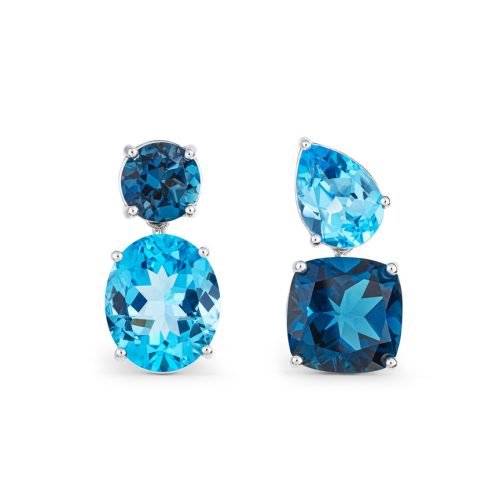
Everything else in the frame can be right and a pair whose two halves sit at different angles still reads as sloppy. On a listing, sloppy reads as cheap. A single earring photographed well beats a badly matched pair, so the pair is the first decision you make, not the last.
The rig enforces the match, not your eye:
- Studs. Two holes at a fixed spacing in an acrylic stand.
- Drops and hoops. Fishing line strung across an empty photo frame, with the option of two lines at staggered heights so the pair sits at different depths.
Mark the mounting points once and reuse them for the whole shoot, and every pair in the catalogue sits identically. Check the match on a full-resolution frame, never on the camera back. A two-degree rotation difference is invisible at thumbnail scale and obvious the moment a customer zooms.
Mirroring the second earring in post is worth taking a position on. For identical machine-made studs, duplicating and flipping one is a retouching shortcut and nobody is harmed. For handmade, asymmetric or stone-set pairs it is a factually wrong picture of the product that arrives, and that is precisely the expectation mismatch that drives jewellery returns.
Studs are easier than people expect. Very small ones often need no prop at all and can simply be laid flat. One detail decides the frame: posts and backs stick out behind studs and distort the true shape.
That is half the backs answer. The full one costs one extra frame:
- Hero frame with the backs off, because the fitting distorts the silhouette.
- One detail frame with the back on, because butterfly, screw-back and flat-back is a genuine purchase question and a returns driver for anyone whose piercing takes only one type.
Hoops are geometry, not bad luck. A hoop hangs on the axis of its own post, so left alone it presents its edge to the camera rather than its face. One guide calls photographing them an absolute nightmare and then lists options without choosing between them. A consumer forum thread asking how to make hoops face straight instead of out shows the same geometry frustrates the people wearing them.
Rig the hoop face-on to the camera on fishing line across an open frame. The reason matters more than the method: the face-on frame is the one that shows diameter, and diameter is what a hoop buyer is choosing between. Add a second frame at a slight angle for profile thickness. Honest caveat, since nobody else offers one: no source tests hoop orientations against each other or reports which converts better, so this is reasoning from what a hoop buyer needs to judge, not a tested result.

Drops and dangles use the same open frame with clear acrylic thread held by clips and retouched out afterwards. Run a black marker along the line where it catches the light, as in the shared setup above, and there is less retouching to do.
What we would ship per pair:
- One hero frame, pair matched, backs off.
- One detail frame with the fitting shown.
- One angle frame for profile or drop.
Keep the Whole Range Consistent, Then Retouch Honestly
A 16-inch choker and a 30-inch chain cannot fill the frame the same way. Consistent scale and consistent framing are different things and you cannot have both, which is the choice nobody names. Consistent scale means a small piece is genuinely small in frame and the range reads truthfully. Consistent framing means every piece fills the frame and the grid reads tidy.
Choose scale for a range sold on proportion, framing for a grid sold on browse. Make the choice explicitly rather than letting it happen piece by piece.
Then the mechanics. Write the setup down and reuse it rather than rebuilding it from memory next month:
- Light-to-piece distance and camera height.
- Surface, and where each support sat.
- One grey card at the start of every session.
- The shoot grouped by type, sorted before you switch a light on.
Over-retouching is a returns problem before a taste problem. Make a piece look better than it is and the difference arrives with the parcel. Jewellery and accessories sit in a 10 to 15% return band against an e-commerce average nearer 17.5%, driven mainly by expectation mismatch and gift returns rather than fit. Oversaturated gold goes orange, silver turns blue, and both cost trust.
AI cutouts need a reality check. Generalist background-removal models are trained on edge contrast, and thin reflective chain is where that training runs out:
- Low micro-contrast between metal and sweep.
- Colour fringing around micro-links that confuses edge detection.
- Alpha errors that erase links or dissolve prongs.
The artefacts have names: stepping, ghosting and clipping. Work hybrid. Let the model take the bulk background, then correct micro-chain sections by hand with a small-radius refine-edge brush and vector paths on prongs.
Then the last five minutes:
| Platform | Background | Note |
| Amazon | Pure white, RGB 255,255,255 | Product fills 85% or more of the frame |
| Etsy | No rule | 2,000 pixels on the shortest side for a clean zoom |
| Shopify | No rule | One high-resolution master, crop per platform |
| Google Shopping | White or light neutral required | No text overlays |
Platform requirements change, so check current documentation before a large export.
This is the kind of work we plan and shoot as a Central London studio, alongside the rest of our watch and jewellery photography. If your range has outgrown the kitchen table, it is worth a conversation.
Frequently Asked Questions
What camera settings are best for jewellery photography?
It depends on magnification, which is why published answers disagree. At true macro magnification, use f/8 to f/11 and build depth with a focus stack. At lower magnification, f/11 to f/13 in a single frame is fine. Shoot RAW, set a custom white balance from a grey card, and switch stabilisation off if you are stacking.
How do you photograph earrings with an iPhone?
Macro mode switches to the ultra-wide lens, which focuses to about 2cm. The main wide lens will not focus closer than roughly 15cm, which is why close-ups blur. For a stud where you want detail, hold the phone at 15 to 20cm and zoom in rather than moving closer. Leave the dedicated telephoto alone, because at roughly 60cm it cannot focus at jewellery distance.
How do you take photos of stud earrings?
Backs off for the hero frame, because the post and fitting distort the true silhouette. Add one detail frame with the back on, since butterfly, screw-back and flat-back is a real purchase question. Mount both halves at a fixed spacing so the pair matches. Very small studs often need no prop.
How do you photograph a bracelet so it does not look flat?
Do not lay it down. Put a former inside the loop at roughly wrist diameter so the circle reads round, and cover it in plain white so no colour reflects into the metal. A pharmacy tub wrapped in a white label works. Then shoot from an elevated three-quarter angle, so the circle and the clasp both read instead of the clasp hiding underneath.
How do you stop a necklace chain from twisting in a photo?
Shape it deliberately over a curved former such as a bowl or a can instead of letting it fall where it lands. Position the clasp yourself, because a clasp heavier than the pendant works its way round and drags the chain with it. Support the pendant where its weight sits, found by balancing it on a thin rod.
How do you show a necklace’s length in a photo?
Three things together: a drape or on-shoulder frame that reads as worn length, the measurement stated in the caption, and one neutral reference object. This is expert consensus, not a measured result. Jewellery sits in a 10 to 15% return band driven by expectation mismatch, but no study quantifies how much imagery moves it.
Which app is best for jewellery photography?
No app fixes a chain. AI background-removal tools fail predictably on thin reflective links, producing erased links, halos and stepped edges, because they are trained on edge contrast fine chain does not provide. Use them for the bulk background, then finish micro-chain edges by hand.