
Interior photography is a captivating and intricate field, blending art and technique to capture the essence of indoor spaces. From cozy homes to grand architectural structures, the photographer’s lens brings to life the character and ambiance that reside within four walls. However, this genre of photography is not without its challenges. Each space presents unique obstacles, whether it’s in managing light, dealing with spatial constraints, or ensuring color accuracy.
In this blog post, we dive into the common challenges that photographers face when shooting interiors and explore practical solutions to overcome them. Our aim is to arm both budding and experienced photographers with the knowledge and tools needed to turn these challenges into opportunities for creative expression. Whether you’re dealing with the dim light of a rustic cottage or the reflective surfaces of a modern office, the solutions we discuss here will help you capture stunning, professional-quality interior photographs.
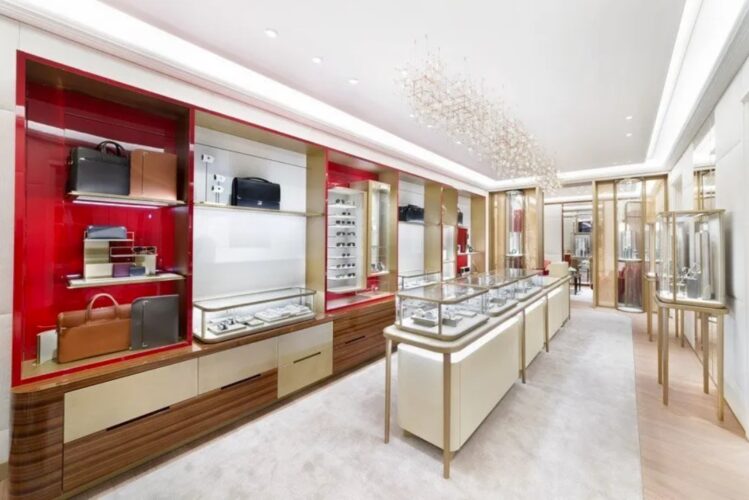
Challenge 1: Low Light Conditions
Low light can make it difficult to capture the fine details and the true atmosphere of an interior. Inadequate lighting can lead to grainy images (high ISO noise), motion blur (due to slower shutter speeds), and a general loss of sharpness and detail. Moreover, it can be challenging to maintain a balance between preserving the mood of a dimly lit space and ensuring that the photo is adequately exposed.
Solutions
- Use of Tripods for Stability in Long Exposures: In low-light conditions, using a tripod is essential. It allows for longer exposures without the risk of camera shake, ensuring sharp images even when capturing in dim settings. Long exposures can beautifully capture both the static elements of the interior and dynamic elements, like the soft movement of curtains in a breeze.
- Employing Artificial Lighting Effectively: While natural light is often preferred, artificial lighting, when used correctly, can significantly enhance interior photos. The key is to use it in a way that complements the existing light sources. Soft, diffused light can fill in shadows without overpowering the natural ambiance. Sometimes, even a simple bounce flash off the ceiling or wall can evenly distribute light and reduce harsh shadows.
- Camera Settings Adjustments: Adjusting camera settings is crucial in low light. Increasing the ISO setting can make your camera more sensitive to light, but be cautious of increased noise at very high ISO levels. A wider aperture (lower f-stop number) allows more light into the lens but be mindful of the depth of field. Sometimes, a combination of moderate ISO increases and wider apertures, along with tripod use, can yield the best results.
Challenge 2: Small Spaces
In small spaces, it can be difficult to capture the full scope of the room. Standard lenses may not be wide enough to include all elements of the room, and the resulting images can feel cramped and uninviting. Additionally, it’s a challenge to show the room’s layout and design effectively when you’re constrained by walls and a lack of open space.
Solutions
- Creative Use of Wide-Angle Lenses: Wide-angle lenses are a boon in small interior photography. They allow you to capture more of the room in a single frame, making the space appear larger and more open. However, it’s important to use them judiciously to avoid distortion at the edges of the frame, which can warp the room’s proportions.
- Mirror Techniques to Create the Illusion of Space: Mirrors can be strategically used to give an illusion of depth and space in small rooms. By reflecting light and interior elements, they add a new dimension to the photo, making the room appear more spacious and dynamic.
- Strategic Placement of Camera and Use of Vertical Space: In tight spaces, every inch counts. Placing the camera close to the ground or high up can offer new perspectives and make the room appear larger. Utilizing vertical space, by highlighting tall elements like bookshelves or curtains, can also draw the eye upwards, creating a sense of height and airiness.
- Emphasizing Details Over Wide Shots: Sometimes, focusing on specific details of a room can be more effective than trying to capture it in its entirety. Close-up shots of unique decor, textures, or furniture can convey the character of the space without needing to show every corner.
Challenge 3: Color Balance and Temperature
Interior spaces are often lit by a mixture of light sources, each with its own color temperature. Natural daylight, incandescent bulbs, and LED lights all cast different hues, ranging from warm oranges to cool blues. This mix can result in images with skewed colors, making spaces appear less inviting or drastically different from their real-life appearance. Furthermore, capturing the true colors of interior elements, such as wall paint and furniture, can be challenging under these varying light conditions.
Solutions
- Understanding and Adjusting White Balance: White balance adjustment is key to managing color temperature in photography. By setting the white balance according to the predominant light source in the room, you can neutralize unwanted color casts. Modern cameras often have presets for different lighting conditions, but for the best results, manually adjusting or custom setting the white balance based on the specific environment is recommended.
- Use of Color Correction in Post-Processing: Even with careful white balance adjustment, some color discrepancies can remain. Post-processing software offers tools for fine-tuning color balance and temperature, allowing you to correct any remaining inconsistencies and ensure that the colors in your photos are true to life.
- Balancing Natural and Artificial Light Sources: When shooting interiors, try to balance the natural and artificial light. This might mean using curtains to diffuse direct sunlight or adding artificial light to compensate for a lack of natural light. The goal is to create a harmonious lighting environment that minimizes harsh contrasts and color disparities.
- Shooting in RAW Format: Shooting in RAW format preserves more information about the image, including color data. This gives you greater flexibility and control in adjusting colors during post-processing, ensuring that you can correct any imbalances and accurately represent the interior’s colors.
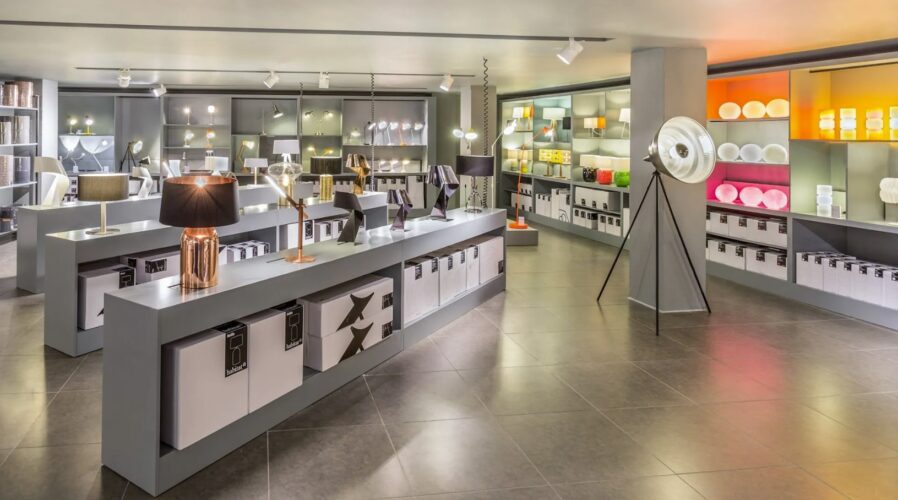
Challenge 4: Reflective Surfaces
Reflective surfaces can unintentionally capture reflections of the photographer, lighting equipment, and other objects outside the intended frame. These reflections can detract from the overall aesthetic of the photo and may reveal aspects of the space that the photographer wishes to exclude. Additionally, glare from these surfaces can obscure details and create overexposed spots in the image.
Solutions
- Polarizing Filters to Reduce Glare: A polarizing filter can be a valuable tool in managing reflections and glare. By rotating the filter, you can often find an angle that minimizes or eliminates unwanted reflections, allowing the true surface beneath to be captured without distraction.
- Angling the Camera to Avoid Direct Reflections: Careful positioning and angling of the camera can help avoid capturing unwanted reflections. Experiment with different shooting angles and heights to find a position where the reflections are minimized or where they contribute positively to the composition of the image.
- Using Diffused Lighting: Harsh lighting can exacerbate the problem of reflections and glare. Using diffused lighting softens the light source and reduces the intensity of reflections. Softboxes, umbrellas, or even natural light diffused through curtains can provide a softer, more even light that diminishes glare on reflective surfaces.
- Post-Processing Techniques: Sometimes, despite best efforts during the shoot, reflections can still be present in the final images. In such cases, post-processing software can be used to retouch and minimize the impact of these reflections, although it’s always best to address as much as possible in-camera.
- Strategic Composition: Incorporating reflections creatively can sometimes enhance a photograph. For instance, a reflection in a mirror or glass can add depth to the image, tell a more comprehensive story of the space, or create interesting visual symmetries.
Challenge 5: Cluttered or Unattractive Elements
The presence of clutter and unattractive elements can detract from the beauty and appeal of an interior space. Such items can draw the viewer’s attention away from the focal points of the room and disrupt the overall composition of the photograph. The challenge is to capture the essence and beauty of the space while minimizing the impact of these less desirable elements.
Solutions
- The Art of Staging and Decluttering Spaces: Before beginning the shoot, take some time to declutter the space. This might involve removing everyday items, rearranging furniture, or temporarily replacing or covering items that don’t contribute to the desired aesthetic. The goal is to create a clean, inviting environment that highlights the room’s best features.
- Selective Focus to Emphasize Certain Elements: Use selective focus to draw attention to the most attractive parts of the room. A shallow depth of field can blur out less appealing background elements, keeping the viewer’s attention on the primary subjects of the photograph.
- Cropping and Framing Techniques in Post-Processing: Sometimes, despite best efforts during the shoot, certain undesirable elements may still be present in the frame. In post-processing, cropping can be used to remove these distractions. Careful framing during the shoot also helps to exclude unwanted elements from the outset.
- Creative Angles and Perspectives: Often, shooting from different angles or perspectives can naturally exclude clutter and unattractive elements. Experimenting with high or low angles, or shooting from doorways or corners, can result in compositions that focus on the strengths of the space while avoiding its weaknesses.
- Incorporating Elements as Part of the Story: In some cases, what might initially seem like a distracting element can actually add character or context to the space. For instance, a well-worn chair or a stack of books might contribute to the room’s story or ambiance. The key is to assess whether these elements add or detract from the narrative you wish to convey through your photograph.
Challenge 6: Consistency in Series
The challenge in maintaining consistency lies in dealing with varying lighting conditions, diverse room colors and furnishings, and different spatial layouts across multiple rooms. These variations can make it difficult to achieve a uniform look in terms of lighting, color balance, and overall mood.
Solutions
- Developing a Style Guide or Theme: Before starting the shoot, decide on a specific style or theme to guide your photography. This might include a consistent approach to lighting, a particular color palette, or a specific mood you want to convey. Having this guide helps ensure that all your shots are cohesive.
- Consistent Lighting and Editing Techniques: Use similar lighting setups and techniques in each space to maintain consistency in how the images look and feel. In post-processing, apply the same or similar adjustments to each image, particularly in terms of exposure, color grading, and contrast, to ensure uniformity across the series.
- Planning Shots in Advance for Uniformity: Plan your shots for each room or space in advance. Consider using a consistent angle or composition style, like always shooting from doorway perspectives or incorporating a specific element in every image. This planning helps in creating a visually cohesive series.
- Use of Reference Shots: Take reference shots and use them as a benchmark for setting up subsequent photos. This is especially useful in maintaining consistent angles, framing, and positioning of the camera.
- Maintaining Color Accuracy: Be attentive to color balance and white balance settings in each room. Consistent color rendition is key to a cohesive look, especially when shooting various interiors that may have different color schemes.
- Adapting to Each Space While Keeping Overall Style: While it’s important to maintain consistency, it’s also necessary to adapt to the unique features of each space. Be flexible in your approach, making minor adjustments as needed while keeping your overall style and theme in mind.
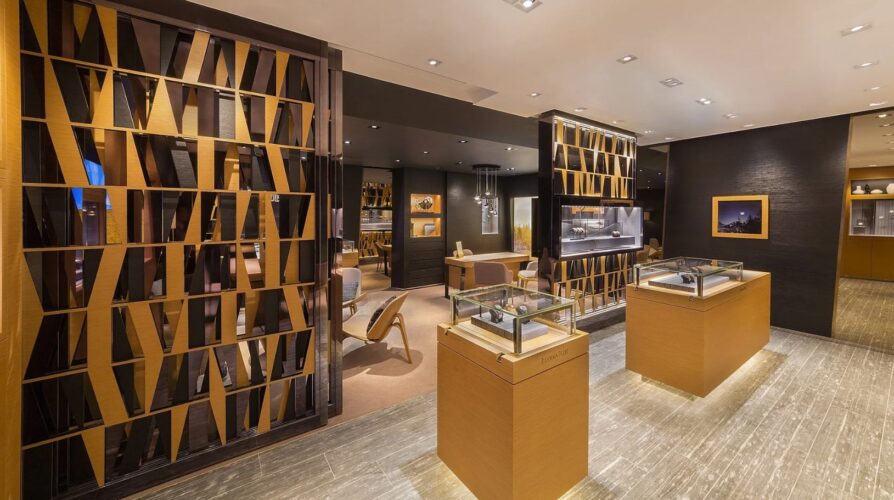
Challenge 7: Capturing the Ambiance
The challenge lies in translating the three-dimensional experience of a space into a two-dimensional photograph while retaining the emotional and atmospheric qualities. A room’s ambiance is often felt rather than seen, making it difficult to capture in a photo. Factors like soft lighting, subtle color tones, and intricate textures need to be meticulously rendered to communicate the true feel of the space.
Solutions
- Use of Storytelling Elements in Photography: Approach each space as a story to be told. Consider what elements make the space unique and how they contribute to its overall mood. Incorporating these elements into your composition helps convey the story and feel of the room.
- Integrating Human Elements for Scale and Warmth: Sometimes, including a human element, like a person interacting with the space, can add warmth and relatability. It helps viewers imagine themselves in the space, enhancing the overall impact of the photograph.
- Capturing Details That Define the Space’s Character: Focus on details that capture the essence of the space – this could be the texture of a throw on a couch, the pattern of light filtering through a window, or the arrangement of items on a shelf. These details often hold the key to the room’s ambiance.
- Balancing Technical Proficiency with Artistic Sensitivity: While technical skills in lighting and composition are crucial, capturing ambiance also requires artistic sensitivity. This involves making intuitive decisions about what to include in the frame and how to present it in a way that evokes emotion and atmosphere.
- Experimenting with Lighting: Lighting is a critical element in setting the mood. Experiment with different lighting setups and natural light at different times of the day to find the most evocative illumination for the space.
- Creating Depth and Dimension: Use techniques like selective focus, varied angles, and thoughtful composition to create a sense of depth and dimension. This helps the viewer feel immersed in the space, as if they are experiencing it in person.
In Closing
As you can see, in interior photography, every challenge presents an opportunity for creativity and innovation. From mastering low light conditions to capturing the very essence of a room’s ambiance, each obstacle requires a unique blend of technical skill and artistic vision.
At Kalory Photo Studio, we understand the nuances of interior photography and are dedicated to bringing out the true character and beauty of every space we capture. Whether you’re a designer, architect, or homeowner, we invite you to explore how our expertise can enhance your project. Contact us today to discuss your interior photography needs and let us help you bring your vision to life through our lens.